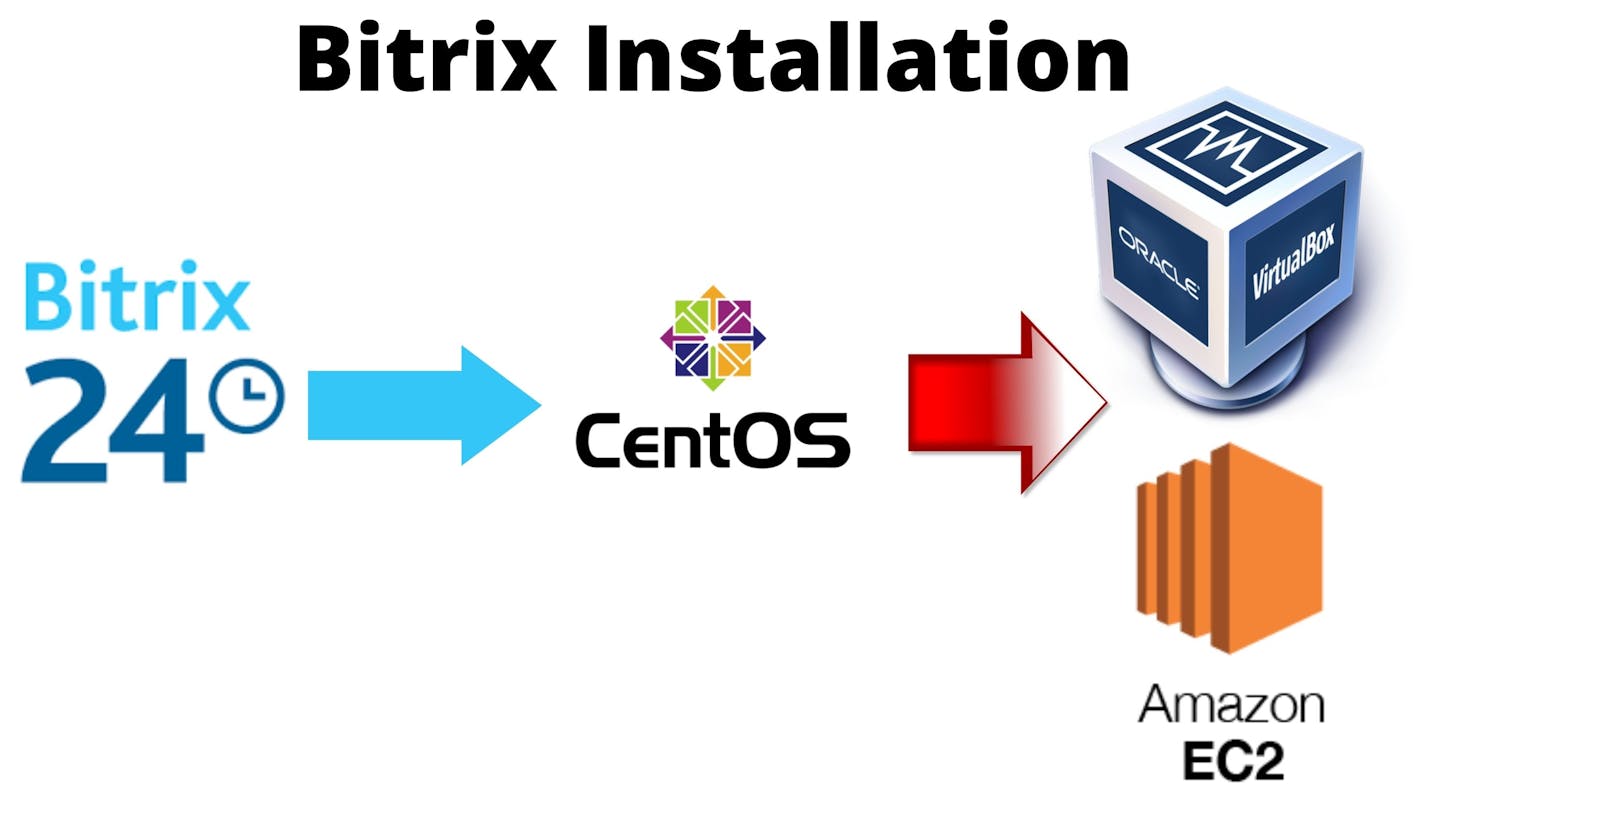
Bitrix Installation on Centos (Virtualbox & EC2)
Install Bitrix24 on virtualbox or amazon EC2.


Bitrix24 is a collaboration platform launched in 2012. Bitrix24 provides a complete suite of social collaboration, communication and management tools for your team, including CRM, files sharing, project management, calendars, and more. Bitrix24 is available in both cloud and on-premise(self-hosted) editions. And we can also migrate from the cloud to our own server at any time we want.
Using Cloud is more flexible and easy to use but Feature-wise, the On-Premise edition includes more tools and modules compared to the Cloud version. But here we will see Bitrix Virtual Appliance in detail:
Bitrix Virtual Appliance 7.x
Bitrix Virtual Appliance is specifically configured to provide fast execution of Bitrix24 software products: program deployment lasts only a couple of minutes and the appliance is ready for use! You can install both Bitrix24 product demonstration versions and your own completed projects on the Virtual Appliance.
Bitrix Virtual Appliance includes:
- mysql-server 5.*
- web-server (Apache 2.4.*)
- php 7.х
- nginx 1.20.2
- memcached
- stunnel
- catdoc
- xpdf
- munin
- nagios
- sphinx
The following Bitrix VA distribution packages are available for:
- VMWare;
- OVA (Sphere etc.);
- VirtualBox;
- HyperV.
Bitrix Environment for Linux
Bitrix Environment for Linux is configured for the fast and simple installation of all software that is necessary for Bitrix24 products and solutions to operate on CentOS 6 (i386, x86_64) and CentOS 7 (i386, x86_64).
Amazon Elastic Compute Cloud (Amazon EC2)
Amazon EC2 – is a web-service that provides scalable processing power and is designed for the fast and simple deployment of a web-application on Amazon sites (in clouds). Preconfigured VA (AMI) images were prepared by Bitrix24 specialists to allow fast startup of Bitrix24 applications on Amazon EC2 and contain the following:
CentOS 7;
NGINX + Apache2;
PHP 7.x;
MySQL5 with InnoDB support;
Mail server agent;
UNIX-like Control Menu with common tasks;
IP address via DHCP, or configured by Amazon Elastic IP;
HTTPS support.
Installation of Bitrix Environment (BitrixEnv) for Linux
Get authorized on the server with root administrative account.
sudo suDownload the Bitrix Virtual Environment for Linux script and run it via the following commands.

wget https://repo.bitrix.info/yum/bitrix-env.sh
chmod +x bitrix-env.sh
./bitrix-env.sh
- Then, it is necessary to accept the disabling of SElinux (if SElinux is enabled in the system) and reboot the system via reboot command.

- After the server is rebooted continue the BitrixEnv installation:
./bitrix-env.sh
- When entering the server with root login you will be prompted to change Bitrix user password:
 Note : If change password prompt is not showing up then type the following command:
/root/menu.sh
Then, it will be necessary to create the pool (1. Create Management pool of server) and the work can be started:
 Pool creation wizard opens all the necessary CentOS ports allowing for correct operation:
When a pool is not created, only ports 22, 80 and 443 are open. Additional ports for services can be used inside Virutal Appliance, but they are not open for data input.
Pool creation wizard opens all the necessary CentOS ports allowing for correct operation:
When a pool is not created, only ports 22, 80 and 443 are open. Additional ports for services can be used inside Virutal Appliance, but they are not open for data input. 22 – ssh access;
80 / 443 – http / https web-server;
8890 / 8891 – http/https ntlm;
8893 / 8894 – http/https instant message server;
5222 / 5223 – http/https xmpp-server.The server is ready for further use.
After all server Settings are configured, don't forget to exit the root account for security purposes:
- To go console, select 0. Exit in the menu (or press Ctrl+C)
- And then, run the exit command.
- To go console, select 0. Exit in the menu (or press Ctrl+C)
Now just get the IP address of your instance (public IPv4) , then you will be prompted to bitrix installation steps:
 After completing it your bitrix dashboard will be look something like this.

How to manage BitrixEnv
To proceed to execution of any action in Virtual Appliance, please input the number and press Enter. For example, to configure virtual server, input 2 in the line (Manage localhost) and press Enter.
To return from the command line (if you have pressed 0. Exit or Ctrl+C) back to the BitrixEnv menu, input the following command in the console:/root/menu.sh
Handling files in BitrixEnv
Handling files in BitrixEnv is performed using protocols SSH / SFTP. Protocols FTP and SCP are not supported by default.
Refrence: Official Bitrix documentation