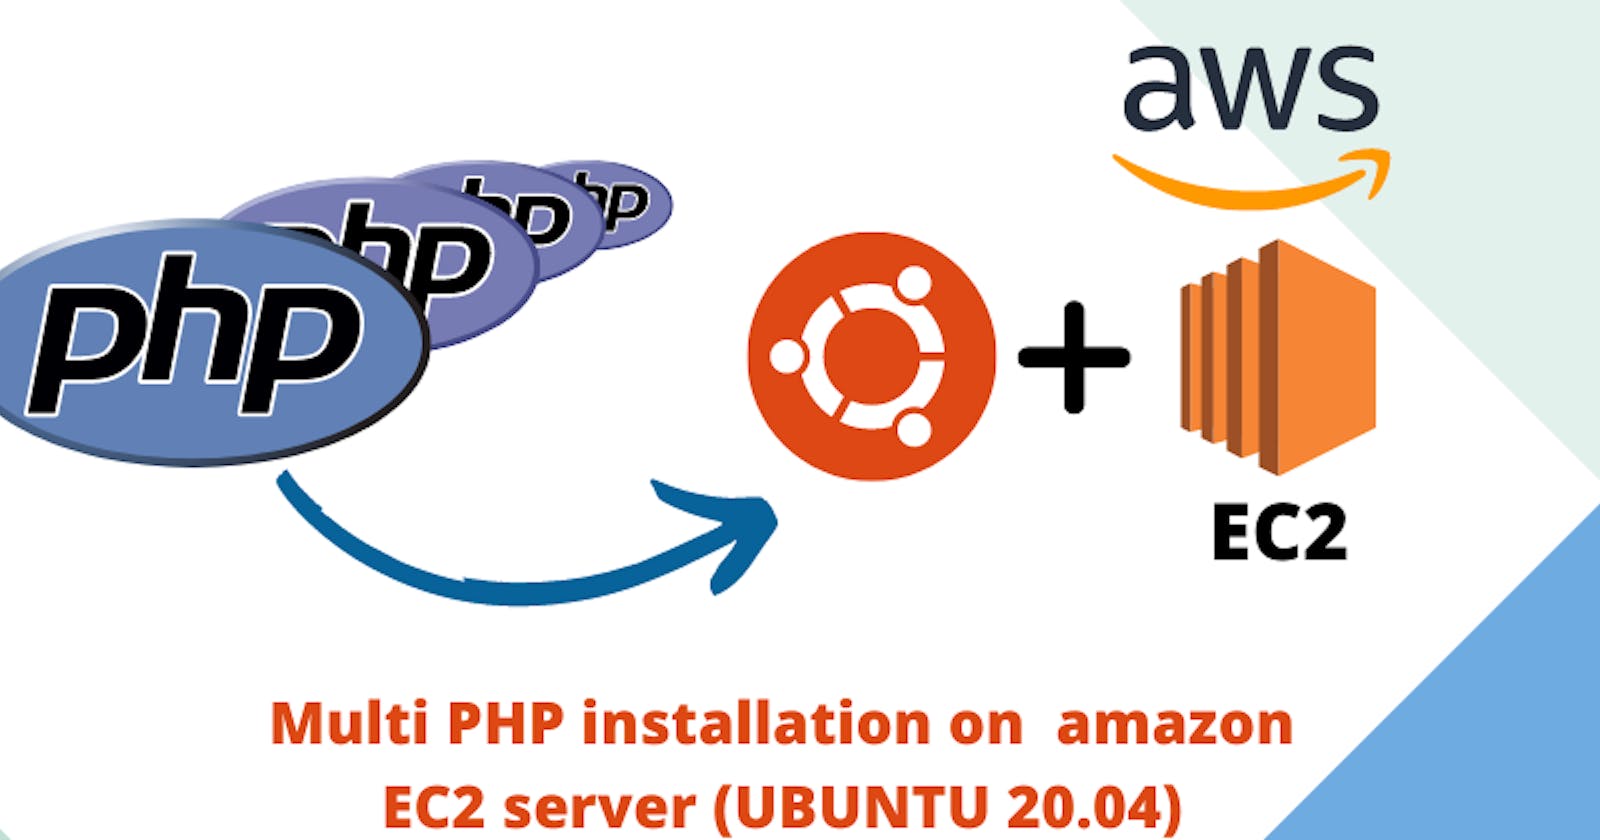


Sometimes we need different applications (with different PHP versions running on it) but on a single server. So in this blog we’re going to do it step-by-step and configure NGINX to define our desired PHP version. We'll use AWS EC2 server and OS as Ubuntu 20.04. but you can do it on a machine of your choice as well.
Step 1: First, Add the PHP repository
By default, Ubuntu 20.04 ships with the PHP version 7.4. So you'll need to add the PHP repository in your system to install the multiple PHP versions.
apt-get install software-properties-common gnupg2 -y
Once all the dependencies are installed, add the PHP repository using the following command:
add-apt-repository ppa:ondrej/php
Now, update the repository with the following command:
apt-get update -y
Step 2: Install Multiple Versions of PHP (7.2, 7.4, 8.0 and 8.1)
To install multiple PHP version, we'll use the following command:
for PHP 7.2
apt-get install php7.2 php7.2-fpm php7.2-cli -yfor PHP 7.4
apt-get install php7.4 php7.4-fpm php7.4-cli -yFor PHP 8.0
apt-get install php8.0 php8.0-fpm php8.0-cli -yFor PHP 8.1
apt-get install php8.1 php8.1-fpm php8.1-cli -yAt this point, all the PHP versions are installed in your system.
Set the default PHP version for the Command Line
Before that, first check the current version of CLI that PHP running by the following command:
php --version
we should see the following output
PHP 8.0.5 (CLI) (built: May 3, 2021 11:30:57) ( NTS )
Copyright (c) The PHP Group
Zend Engine v4.0.5, Copyright (c) Zend Technologies
   with Zend OPcache v8.0.5, Copyright (c), by Zend Technologies
As we can see that PHP8.0 is the default PHP command line version. Now set the default command line PHP version to PHP 7.4 using the below command:
update-alternatives --config php
We'll be asked to set the default PHP version as shown below.
There are 3 choices for the alternative php (providing /usr/bin/php).

  Selection    Path             Priority   Status
------------------------------------------------------------
* 0            /usr/bin/php8.0   80        auto mode
  1            /usr/bin/php7.2   72        manual mode
  2            /usr/bin/php7.4   74        manual mode
  3            /usr/bin/php8.0   80        manual mode

Press "enter" to keep the current choice[*], or type selection number: 2
update-alternatives: using /usr/bin/php7.4 to provide /usr/bin/php (php) in manual mode
Now, select your desired version and hit “Enter” to set the default version. Now verify your default PHP version using the following command:
php --version
Now it will show 7.4 version running on CLI.
Step 4: Switch Between Multiple PHP Versions with Nginx
We can switch between multiple PHP versions easily by configuring the Nginx virtual host and PHP-FPM. PHP-FPM (Fast CGI Process Manager) is an alternative PHP Fast CGI implementation with some additional features useful for sites of any size, especially busier sites. First, install the Nginx server package with the following command:
apt-get install nginx -y
Next, you will need to test which PHP version is used by your Nginx server. To do so, create an info.php file in your nginx web root directory:
nano /var/www/html/info.php
and add the following line inside the editor:
<?php phpinfo(); ?>
Save and close the file.
Important Point
- Now, to use different PHP versions on a same server, we'll need to edit the NGINX default virtual host configuration file as below:
nano /etc/nginx/sites-enabled/defaultserver { # php/fastcgi listen 80; server_name _; root /var/www/html/; index info.php; access_log /var/log/nginx/access_log; error_log /var/log/nginx/error_log; location ~ \.php$ { try_files $uri =404; fastcgi_pass unix:/run/php/php7.2-fpm.sock; fastcgi_index index.php; fastcgi_param SCRIPT_FILENAME $document_root$fastcgi_script_name; include fastcgi_params; } }
You should see the following output:
 nginx: the configuration file /etc/nginx/nginx.conf syntax is ok
  nginx: configuration file /etc/nginx/nginx.conf test is successful
Next, restart NGINX to apply the changes:
sysytemctl restart nginx
Finally, open your web browser and access the info.php page using your server IP (Public IPv4 address). You can get your server's public IP via the following command:
curl icanhazip.com

- To use different version like PHP version 7.4 in our case with nginx server, edit the Nginx default virtual host configuration file as below:
nano /etc/nginx/sites-enabled/defaultfastcgi_pass unix:/run/php/php7.2-fpm.sock;fastcgi_pass unix:/run/php/php7.4-fpm.sock;systemctl restart nginxhttp://your-server-ip/info.php
Summary: The goal of this blog is to help you to host multiple web applications with different PHP version, whether in LAMP or LEMP stack.